
The Raspberry Pi Internet Speed Test
Results here. Project not running? I've probably turned off the Pi or using it for another project. Source code: https://github.com/charlesmuchene/speedtest
RaspberryPi
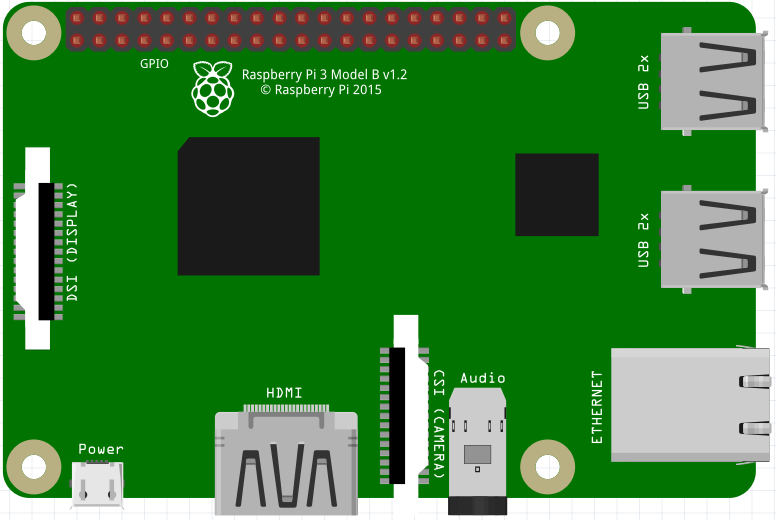
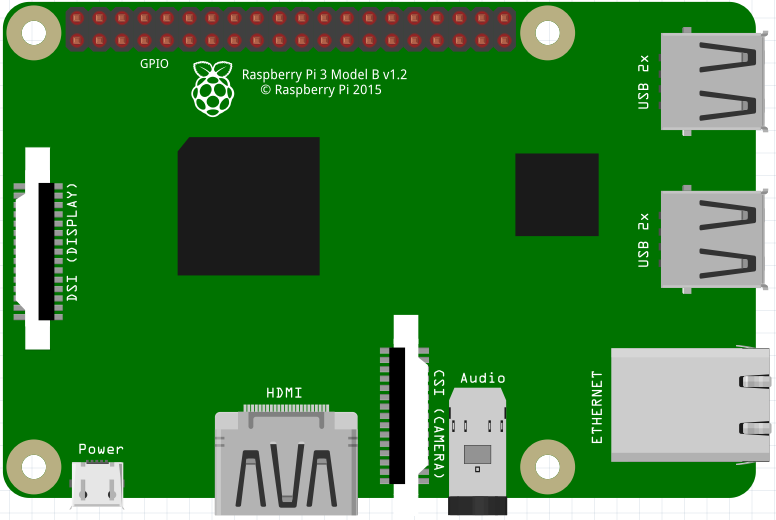
A RaspberryPi is a credit card sized computer: a favorite for hobby electronics or just a plain computer to play around with. For this article, I choose the latter.
Primer
Working from home in 2020 has come with its own requirements, one being a stable internet connection. Freezing in a zoom call or missing the last part of a meeting has nothing but frustrated those of us in never ending meetings for work, study, meets etc. I wanted to do a speed test on my ISP's service.
My go to service for such tests if fast.com. It has been reliable and quite accurate but I have to continuously reload the browser and record my speeds. However, I recently learnt of speedtest.net, quite an intuitive name. In addition to the browser (and other clients), speedtest has a CLI client. Perfecto! 🎉
Enough chat. Let's build this.
The Project
To run a speed test, we need our computer setup.
The Pi
My Raspberry is a Pi 3 Model with a Quad Core 1.2GHz Broadcom BCM2837 64bit CPU, and 1GB RAM. Not bad at all for this project. Check out the full specs on the official website. It had a 16GB sdcard running Android Things OS for a previous project I did in 2018 on Android Debug Bridge. This had to go out and in came Raspberry Pi OS.
The Pi organization has a new way of burning the OS on an sdcard: the Raspberry Pi Imager. Let's give this a try.
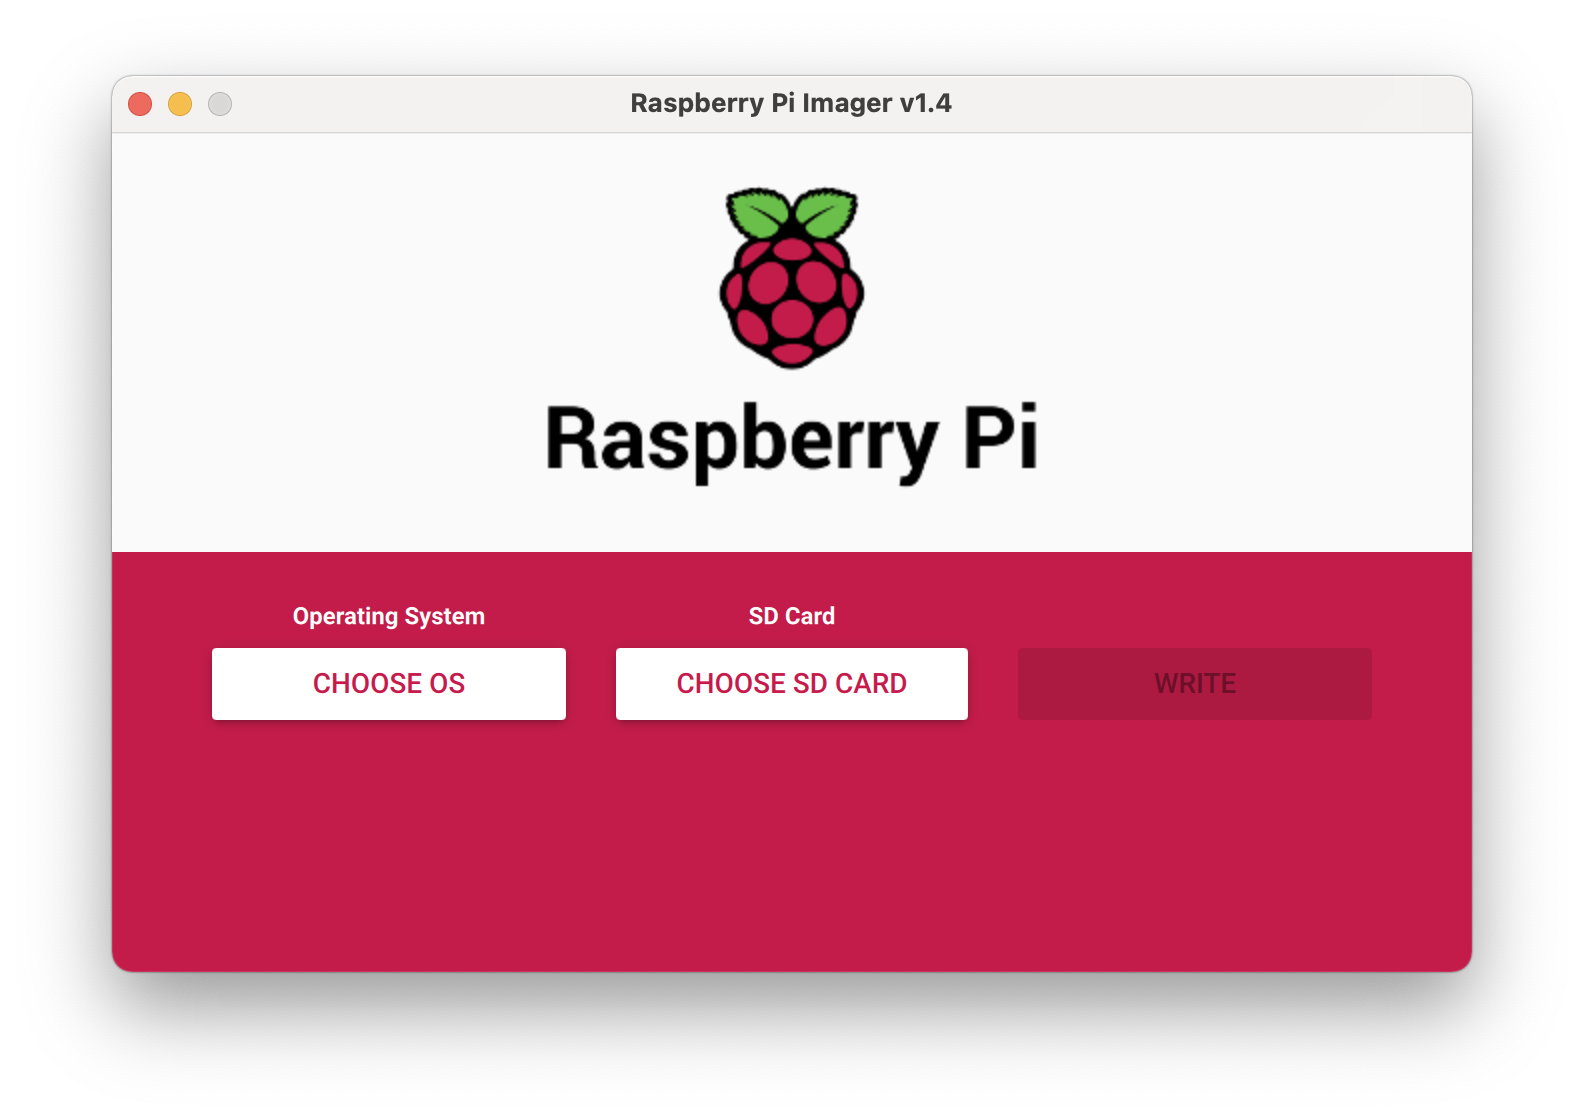
I chose a headless version of the OS as I don't need the desktop -- who needs one? 😀. This is suitable for my use case, SSHing and terminal work, and above all, a lightweight download, 400MB.
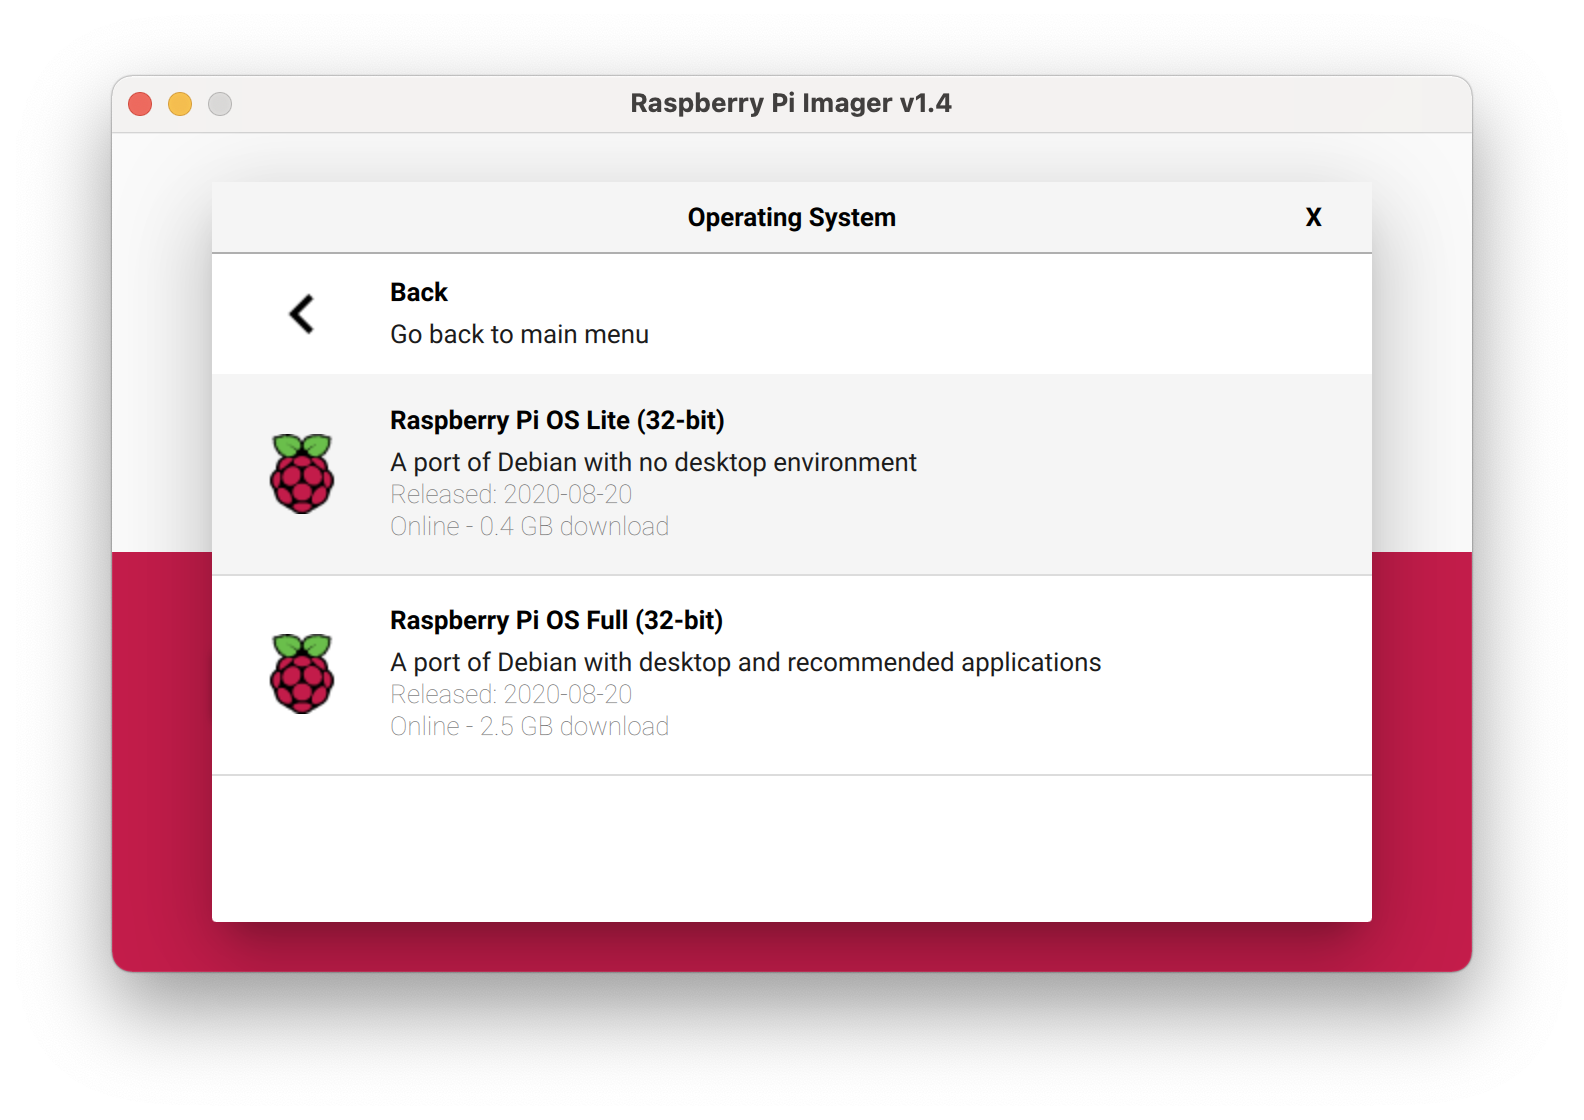
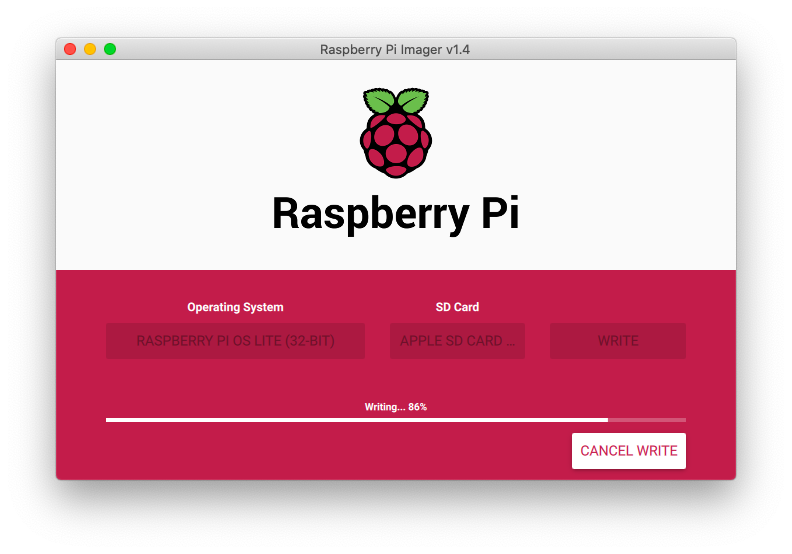
After a few minutes, the download completes, verified and ready for us to boot the Pi.
Configuration
The installed Raspberry Pi OS is a port of Debian and thus with a quick search online, you can get anything up and running.
As my Pi is headless, I added empty file to the boot partition named ssh to enable ssh. I followed this awesome, quick help on the official website. With this in place, I boot the Pi and plugin an ethernet cable from my home router.
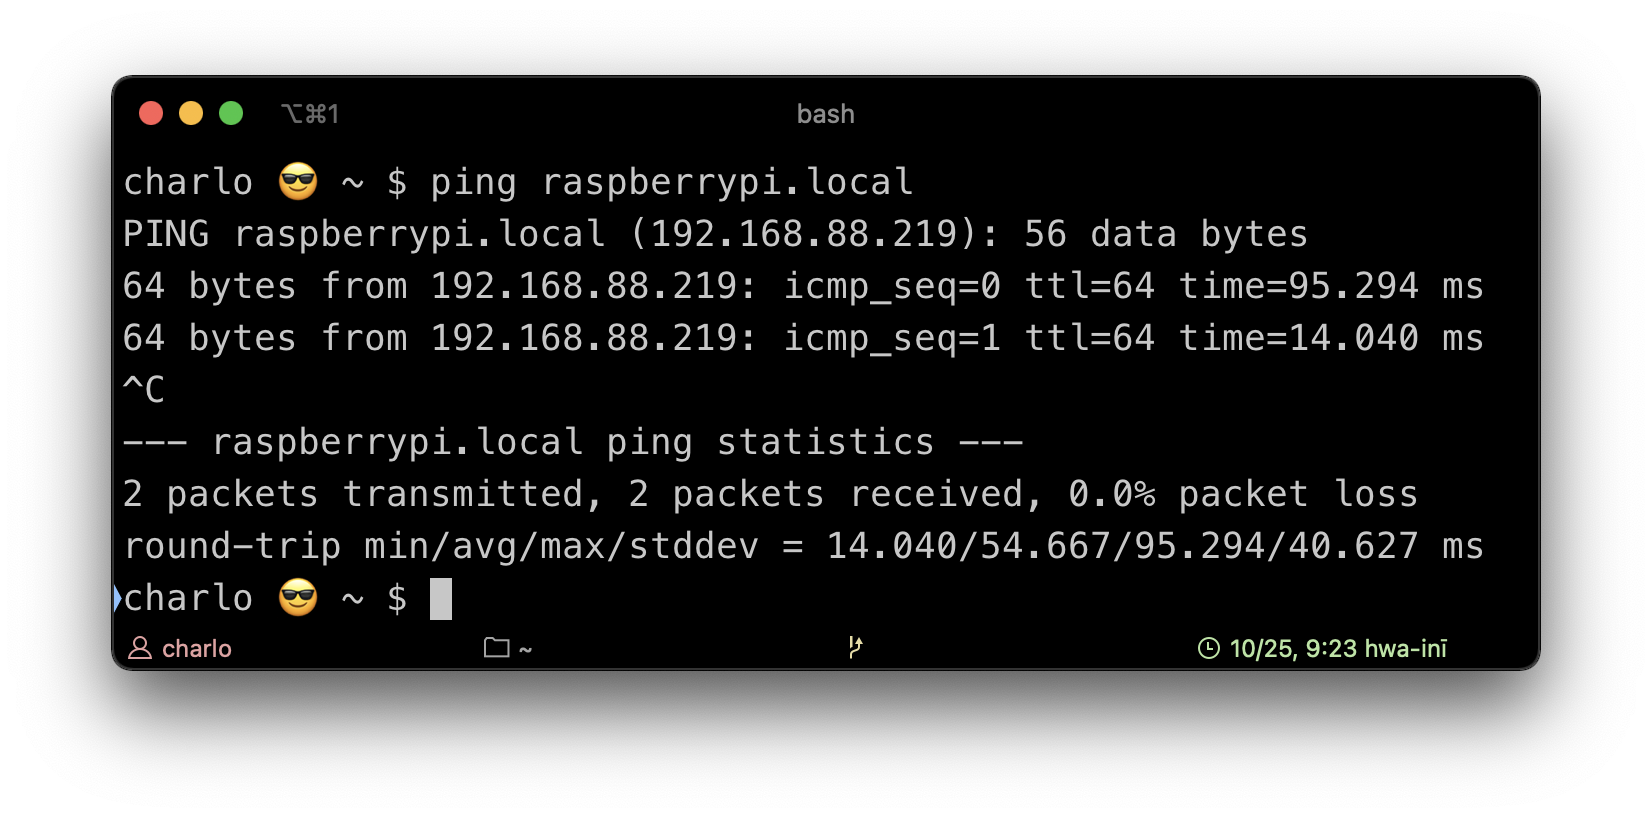
Next, we need a way to 'get into the Pi'. To find out its address, I used this quick help. My Pi version runs an mDNS, and thus with just a ping to raspberrypi.local, voila! Address resolved!
Having to plugin the Pi to the router for configuration and internet access is tedious and obviously limiting on the location you can place it. A quick search on the official website, I find a short article on enabling wireless access here. Now we are one wire-less.
Tools
SSHing into the Pi, I run an update on the OS and installed some tools. Here's the fun part.
Ookla's speedtest
The instructions on their website are sufficient to have the cli tool up and running on the Pi. After installation, a quick run of speedtest on the Pi's terminal seems to do the job.
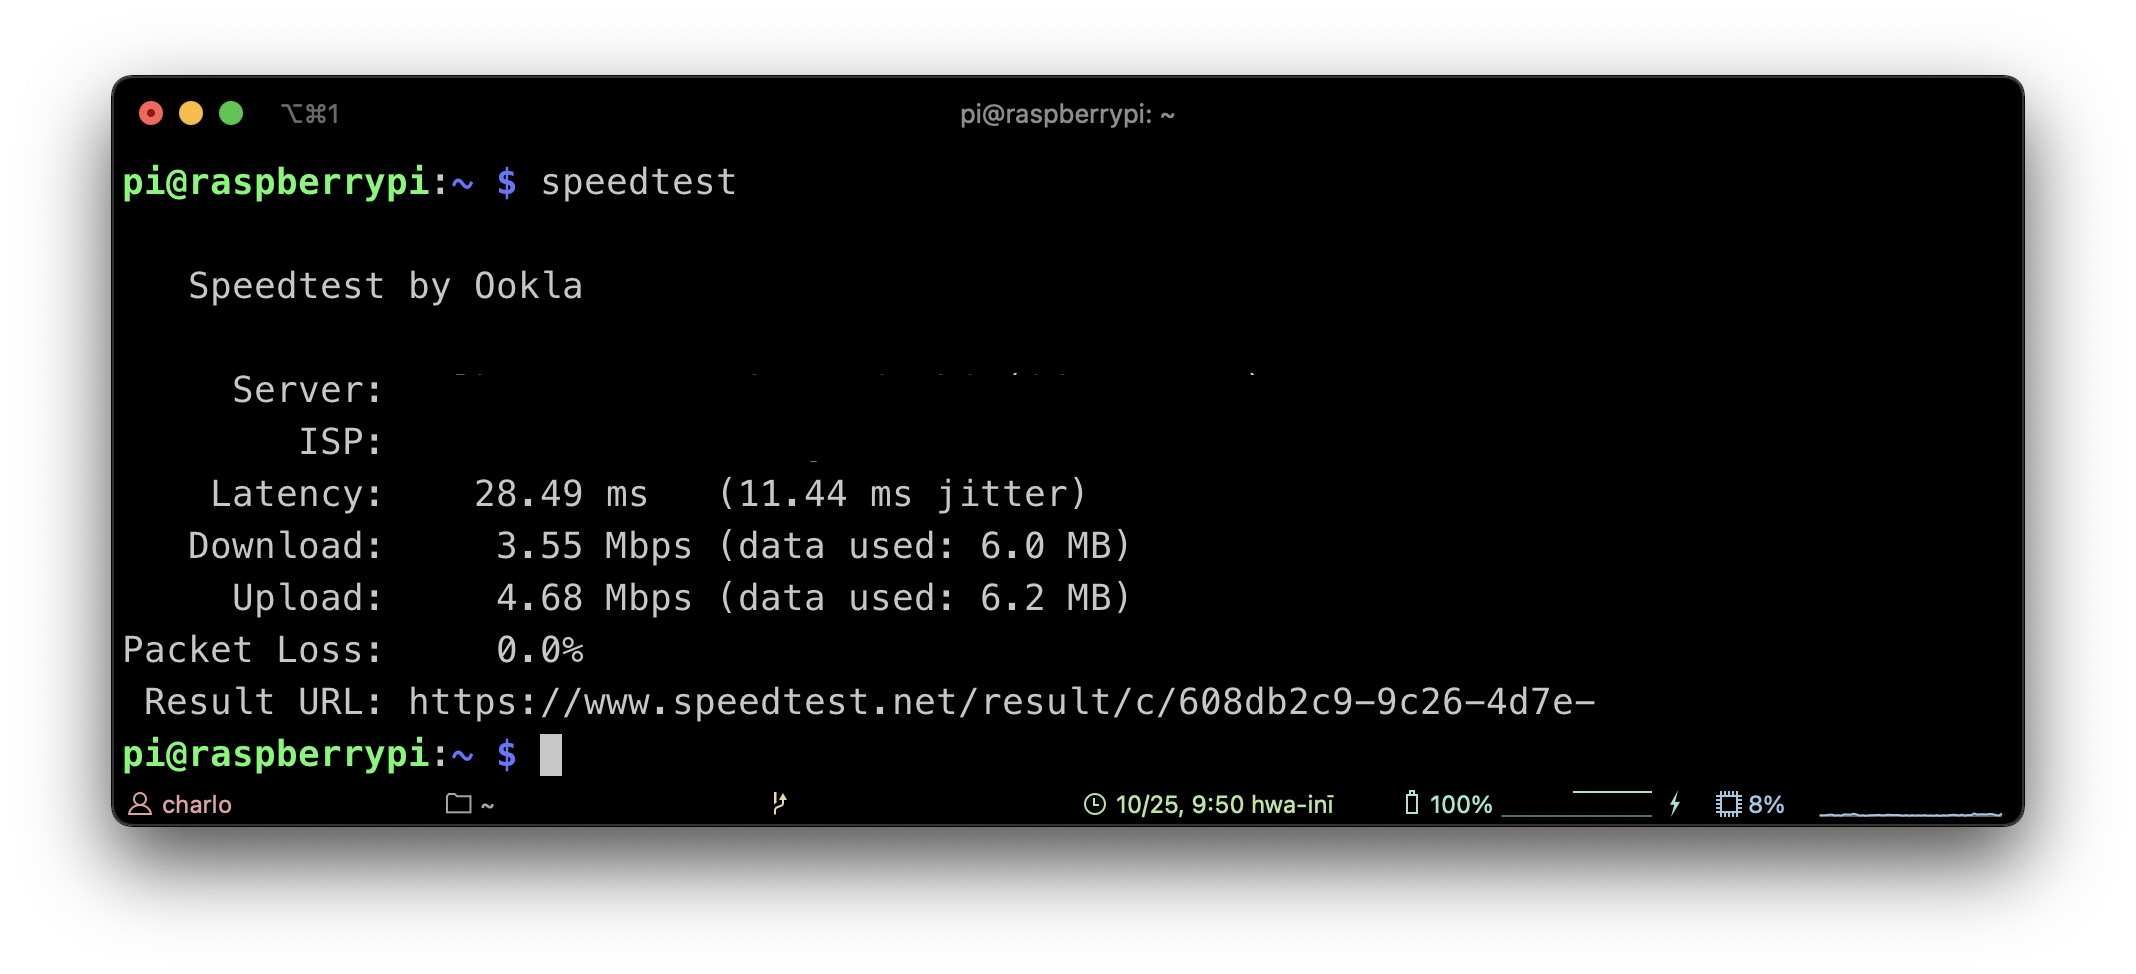
Speedtest's cli client is suitable for my use since I can launch it using a bash script. In addition, the tool has different options on the output of the test with the default one, human readable format (shown above) being good enough for me. But I'll have to parse this to extract the interesting parts. More on this later.
The cronjob
I wrote a short script to run the speedtest after every 10 mins for 1 week then killed the job. Crontab guru can help you out on this.
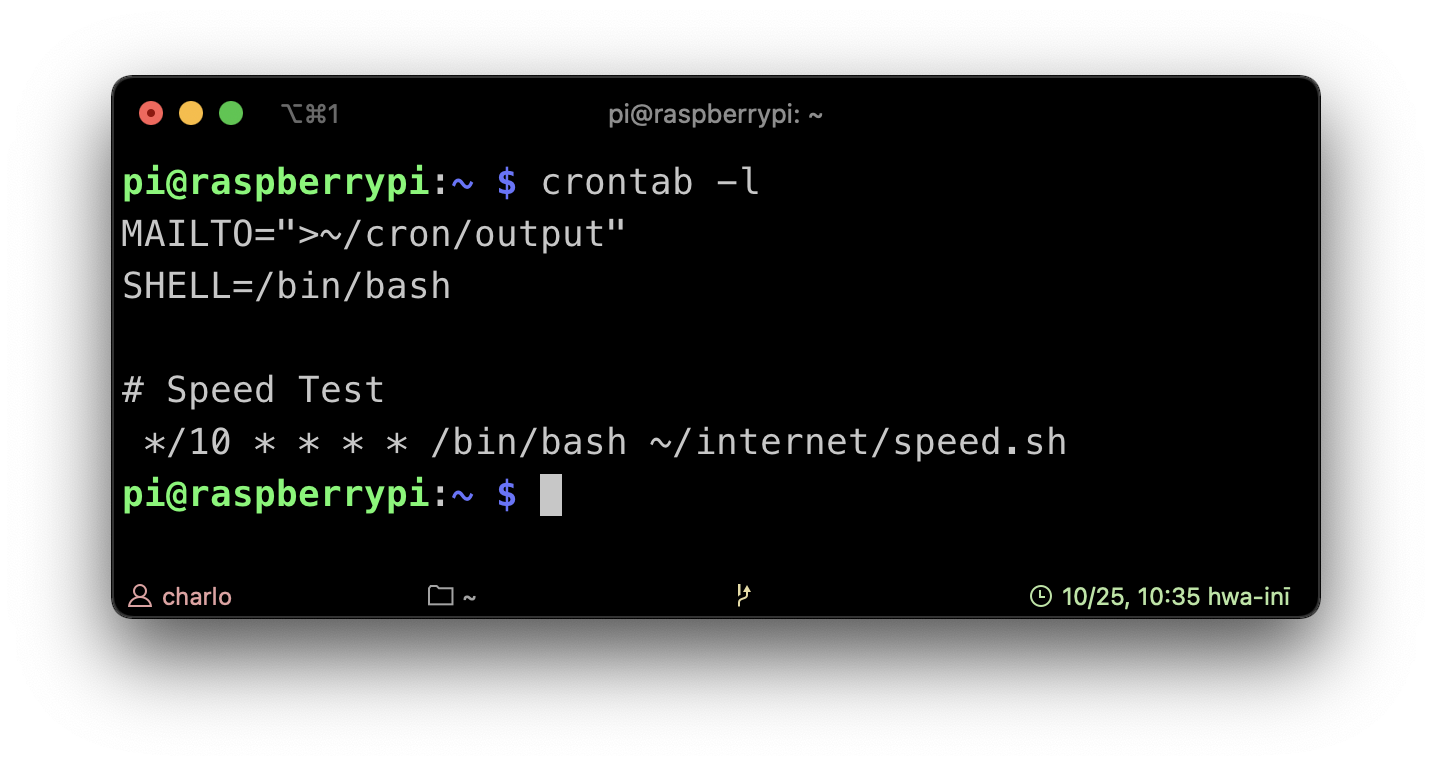
For reference here's the speed.sh. It executes the speedtest and appends a stripped down version of the output to a file.
#!/bin/bash

output_file=~/internet/result
output=$((speedtest | tail -n 5) 2>&1)
url=$((echo "$output" | tail -n 1 | cut -d / -f 6) 2>&1)
output=$((echo "$output" | head -n 4) 2>&1)
echo >> $output_file
echo "**********************************************" >> $output_file
echo $(date) >> $output_file
echo "**********************************************" >> $output_file
echo "$output" >> $output_file
echo "Url: $url" >> $output_file
Node Js
Next, I install Node Js. I use it to parse the output file of the speedtest in to the respective parts: download, upload, loss and latency.
const { EOL } = require('os');
const fs = require('fs');
const path = require('path');

let latencyRegex = /latency:\s+(\d{1,3}\.\d{1,2})/gi;
let downloadRegex = /download:\s+(\d{1,3}\.\d{1,2})/gi;

...

const inputStream = fs.createReadStream(path.join(__dirname, 'result')).setEncoding('utf-8');
inputStream.on('data', (chunk) => {
    let text = Buffer.from(chunk).toString('utf-8');

...

    [ timeRegex, latencyRegex, downloadRegex, uploadRegex, lossRegex ].forEach((regex) =>
        populateData(text, regex, currentLastIndex, data)
    );

    // Write data to file
    outputStream.write(data.flatMap((element) => element.join()).join(EOL));

    // If out of bounds, flush back to readstream
    if (chunk.length - currentLastIndex > 0) inputStream.unshift(text.substring(currentLastIndex), 'utf-8');
});

inputStream.on('end', () => {
    inputStream.close();
    ...
});

inputStream.on('error', console.log);

...
The complete script can be found at play.js on this project's repository here: https://github.com/charlesmuchene/speedtest.
Lighttpd
For presentation, I wanted access on the browser. I installed Lighttpd, a lightweight server with a small memory footprint to serve the files of the project - a html file, a js file and the parsed output from the above operation. For the results, I chose to draw a line graph depicting the performance of my connection using D3 -- a popular Js lib for graphing.
let svg = d3
        .select(`#data${index}`)
        .append('svg')
...
            svg
                .append('path')
                .datum(data)
                .attr('fill', 'none')
                .attr('stroke', colors[index])
                .attr('stroke-width', 1.5)
                .attr('d', d3.line().x((d) => x(d.x)).y((d) => y(d.y[index])));
...
        }
    );
The complete file is available here
Remote Access
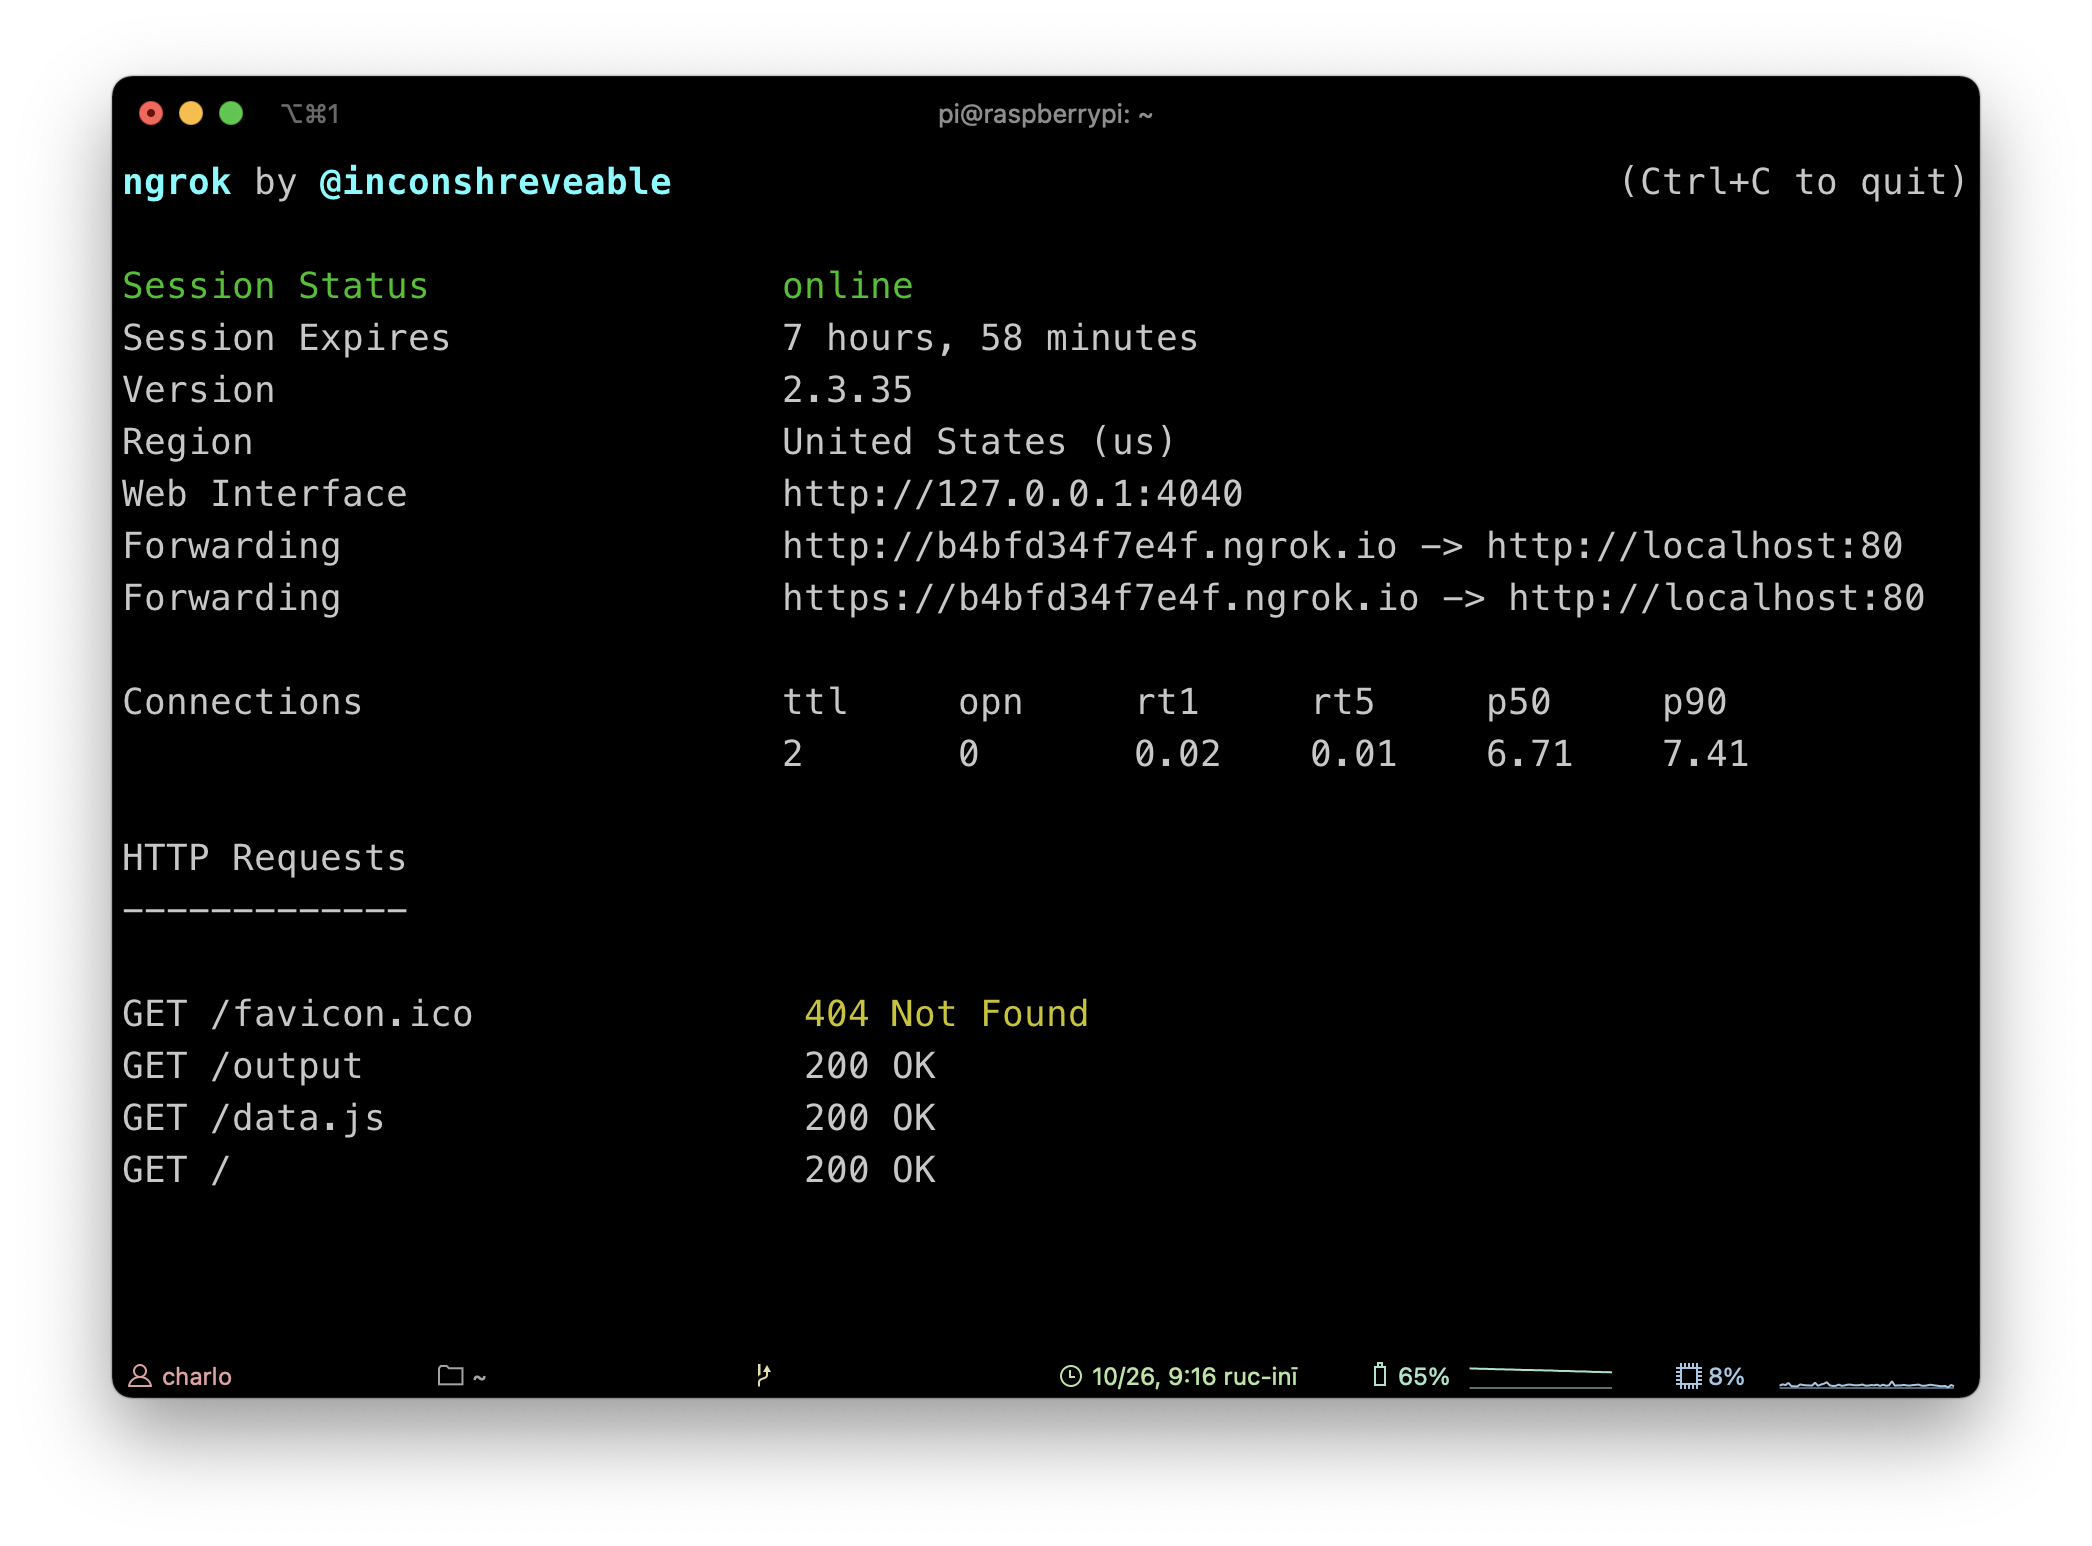
Whenever I want to tunnel into my local system, I go for ngrok. This' perfect to show you my results.
Results
If all goes well, you can check the fruits of your labor from your ngrok's public url: mine is here.
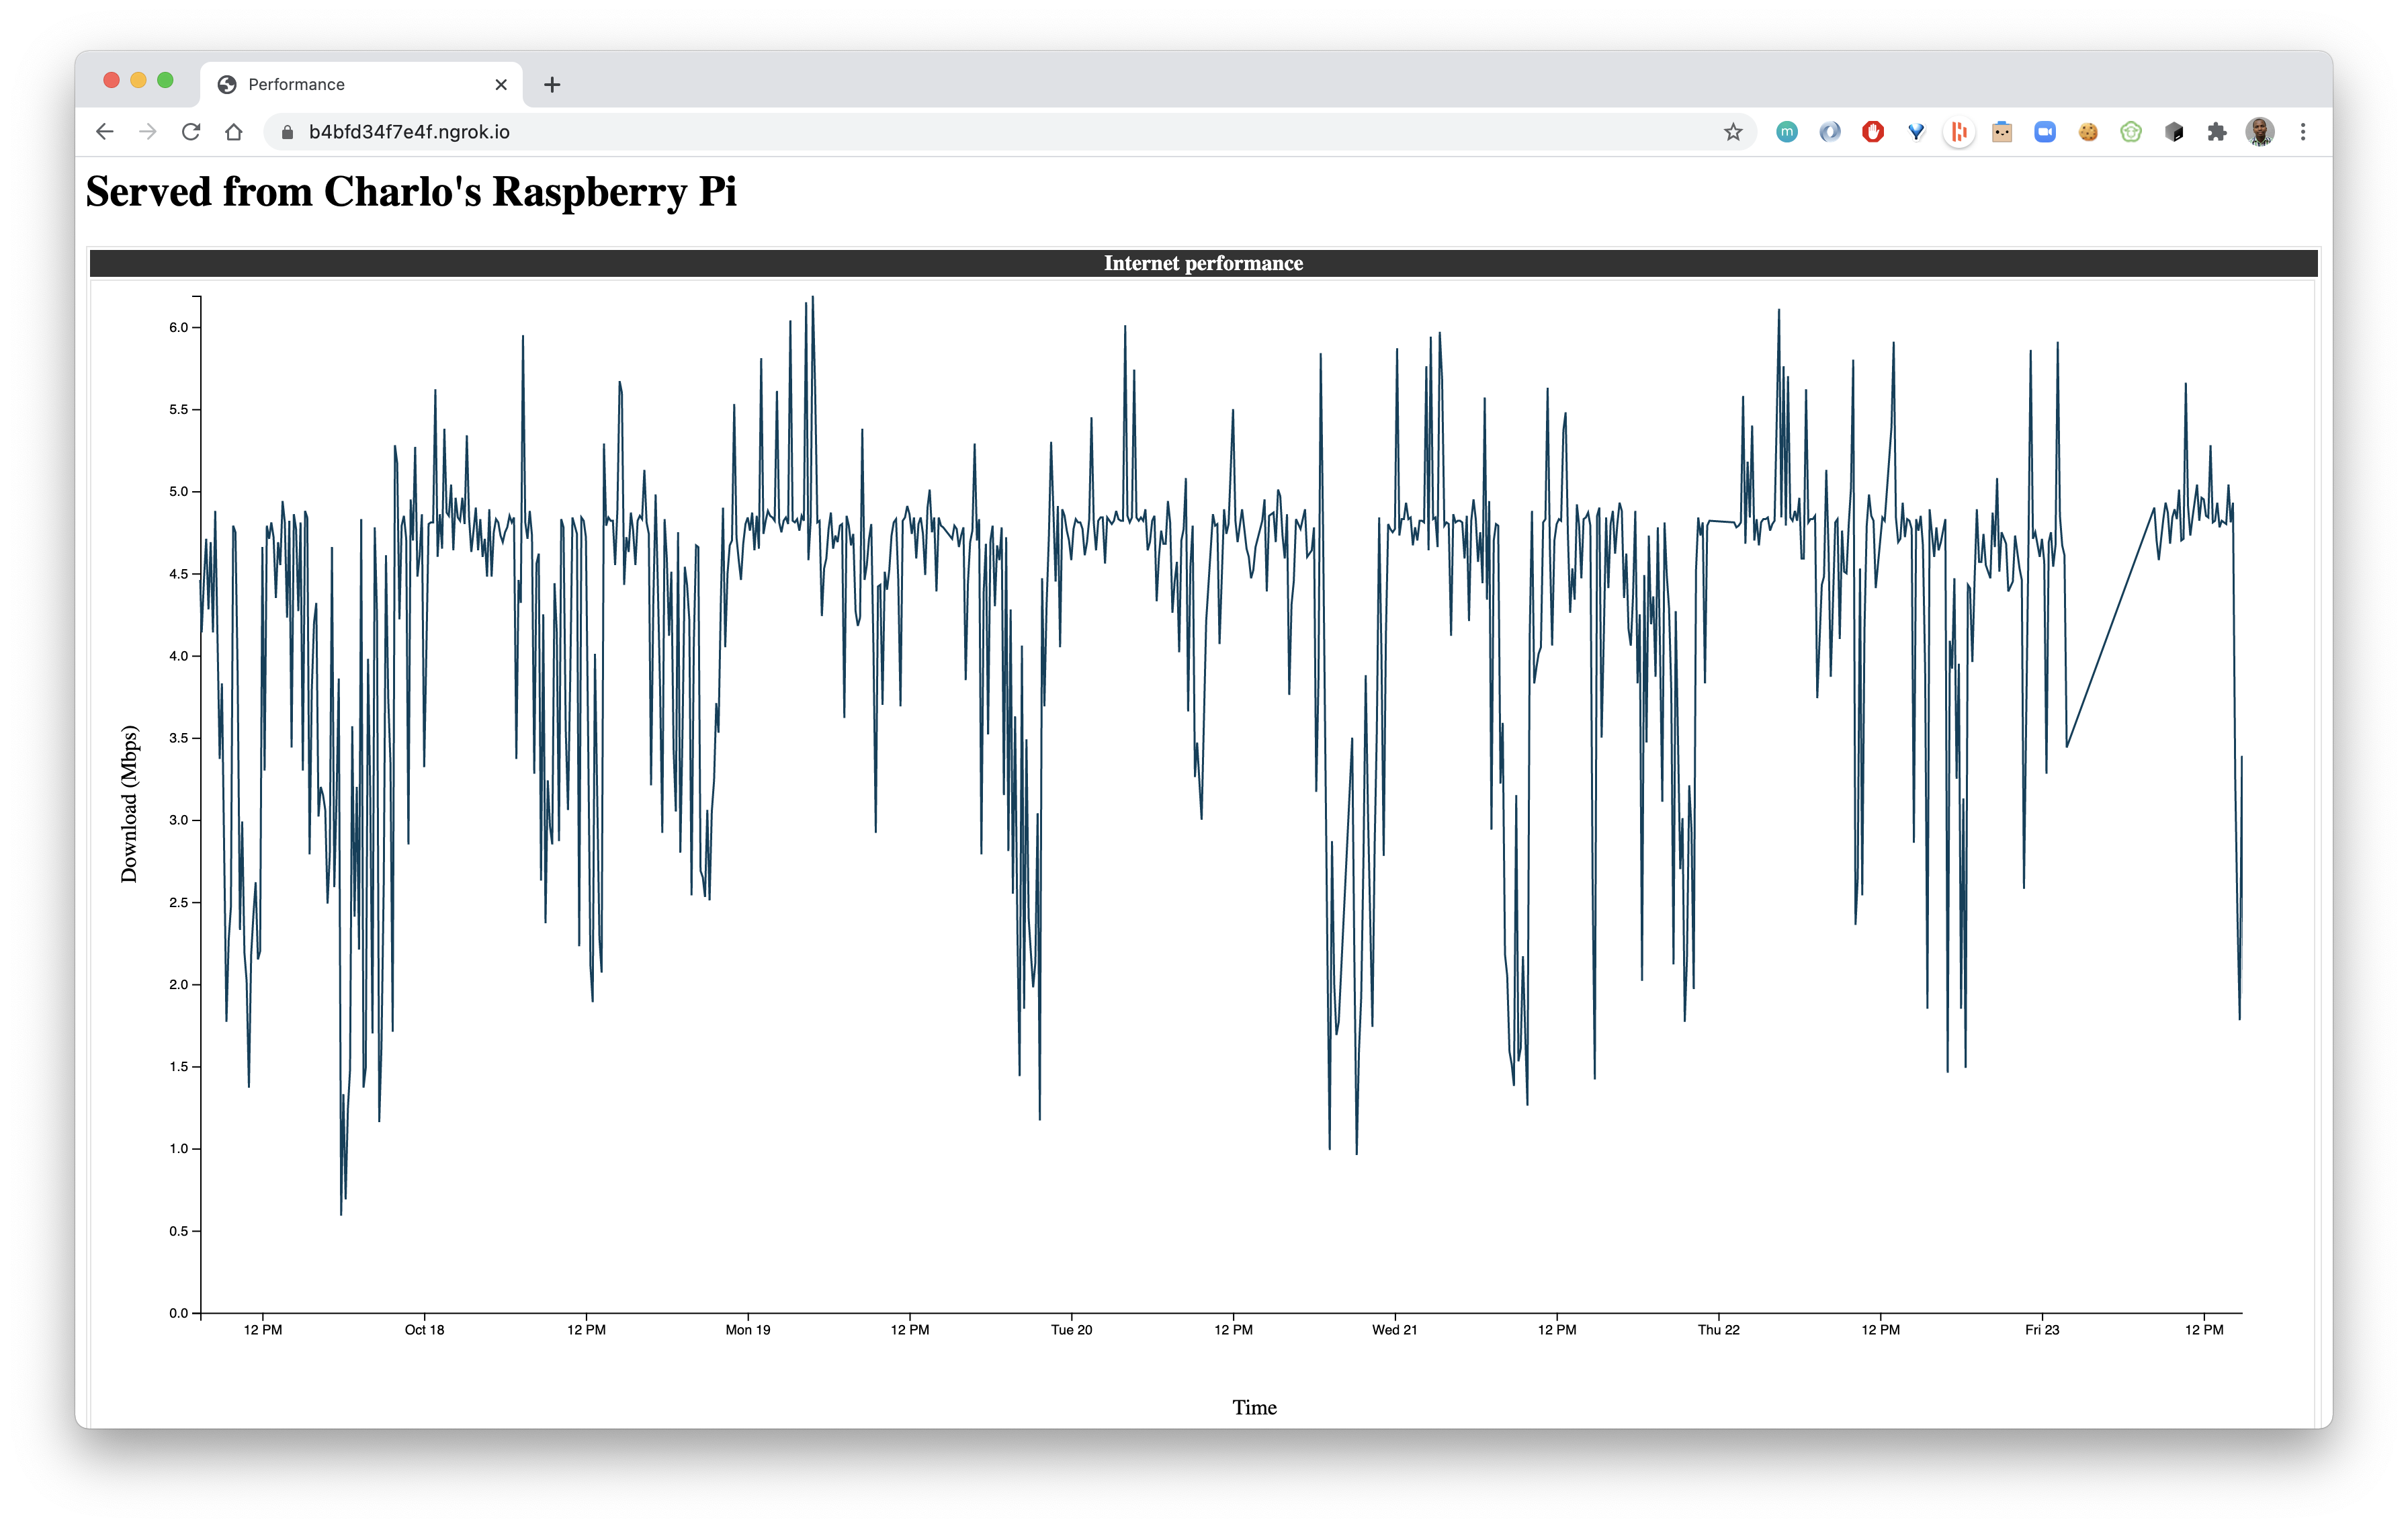
From these results, it looks like my connection is quite unstable.
PS: Sending this to my ISP for reimbursement 😁
The speeds in the resulting project are not hypothetical and don't come cheap where I live. But you're reading of a successful project, no? 🤷🏾♂️
Conclusion
This was fun for me to do. I ended up adding some LEDs to show when my server was online. But it'd be interesting to blink an LED for every http request. Anyways, you can do so much more with a Pi. Check online tutorials and DIYs for more.
Happy tinkering/coding!
References
About the author
Software Engineer
Comments
Join the discussionNo comments yet. Be the first to comment.


